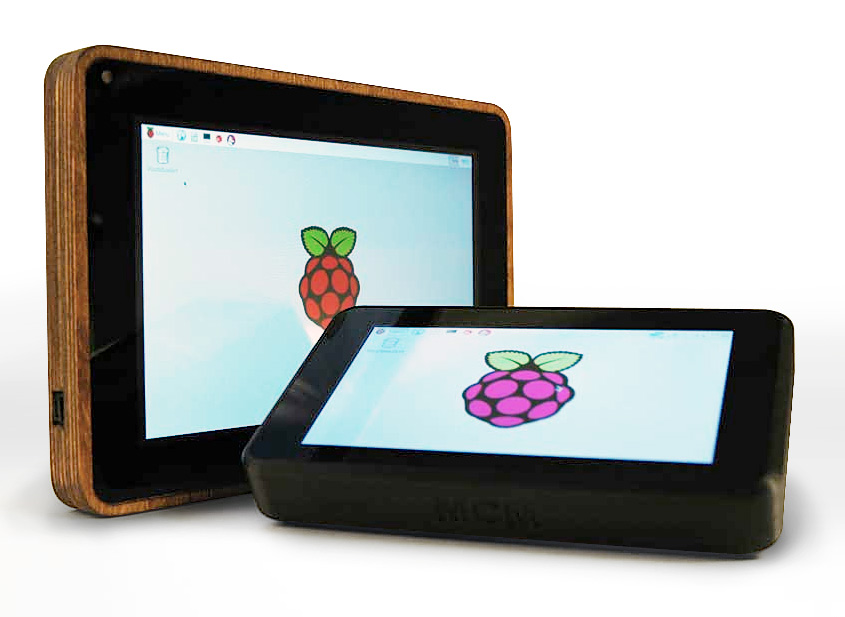
Raspberry Pi 7″ Touchscreen Setup, Review, and Case Design
One of the most frequent comments from folks who are trying to build their own Raspberry Pi Tablet (aka “PiPad”) is that a 5V compatible screen is expensive and difficult to source. As far as I know, there is only one supplier and according to many makers, they are frequently out of stock.
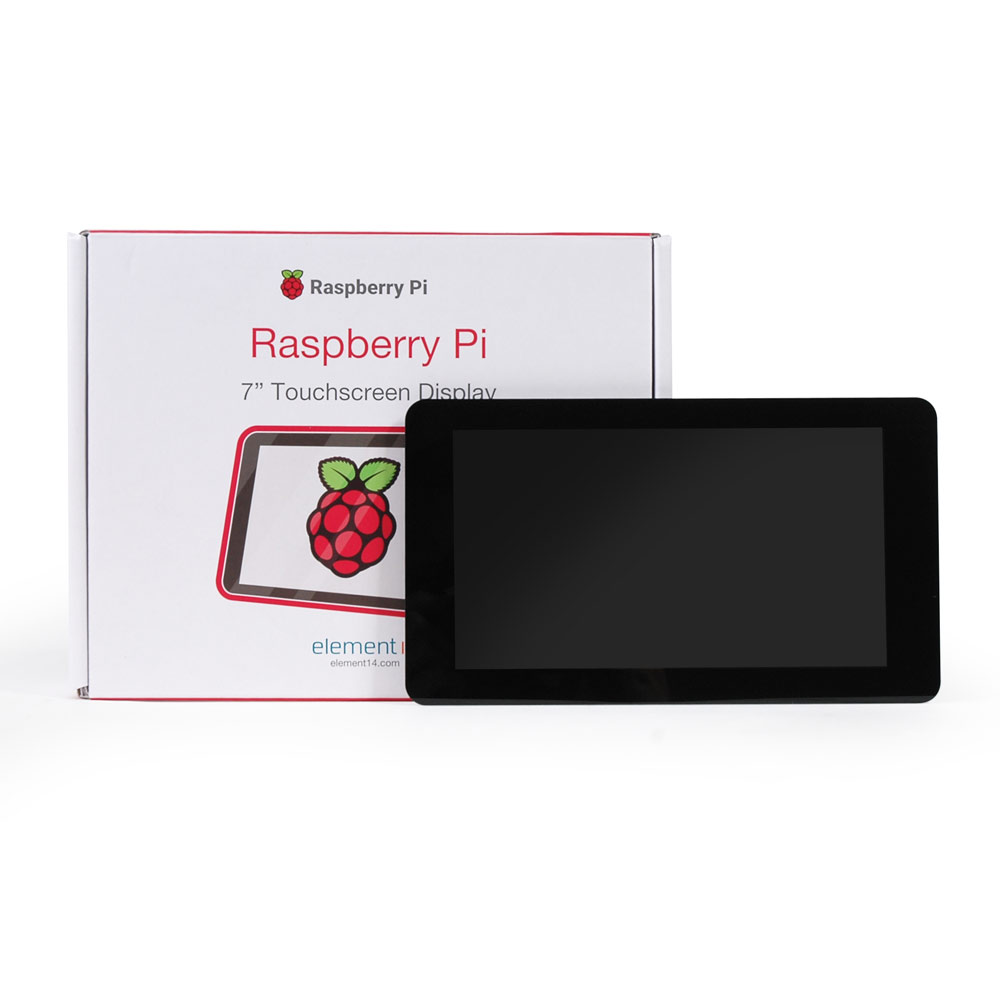
With yesterday’s release of the new 7″ Raspberry Pi Touchscreen, this is all about to change. At an announced $60 price with immediate availability at MCM Electronics, the screen is under half the price (and a fraction of the shipping costs) than other versions on the market. Additionally, since the screen is an official Raspberry Pi product, it will be completely supported by the Raspbian operating system and support is likely to be integrated into others (OSMC, Arch, etc.)
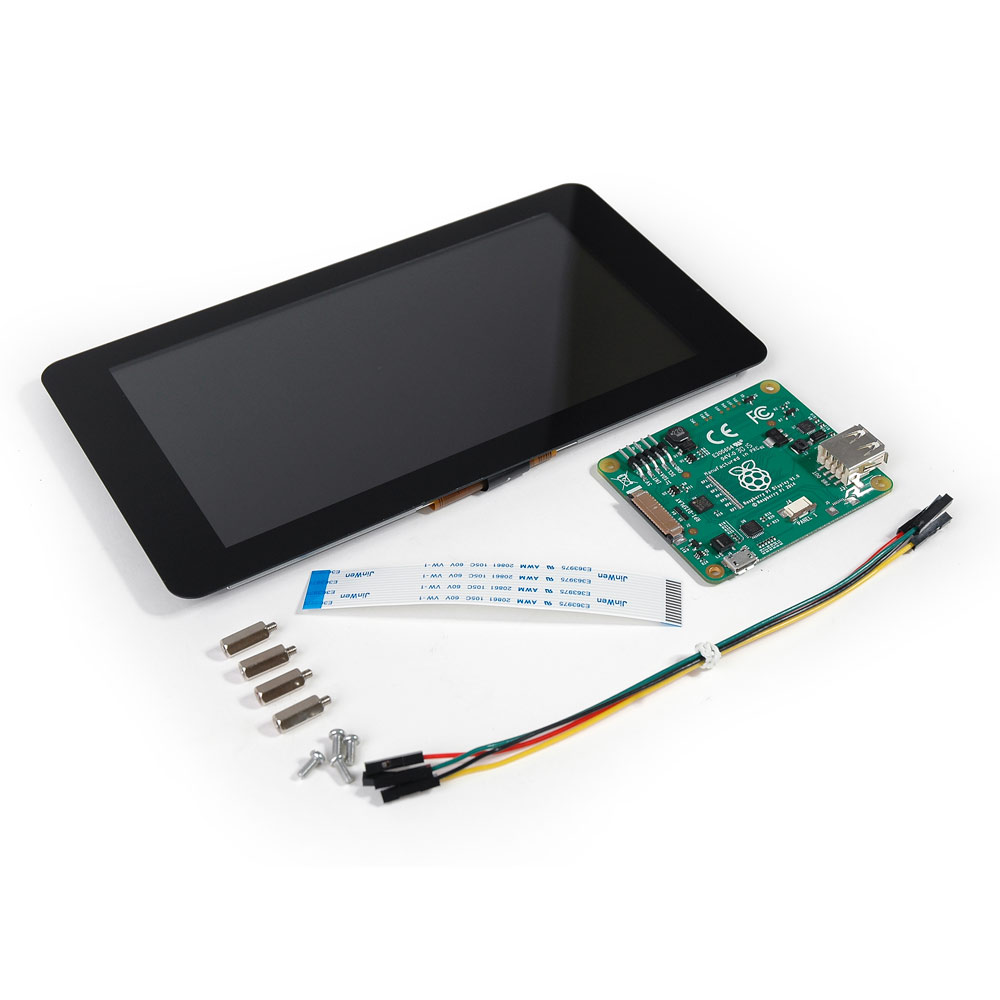
The 7” screen features a supposed 10-finger (not supported by the software yet) capacitive touch and connects to all versions of the Raspberry Pi using the DSI interface (although older boards won’t fit the display’s mounting holes.) The included adapter board routes the touch inputs through the DSI port which is very nice because it doesn’t take up any of the 4 USB ports. Additionally, the adapter board offers flexible power options; it can share power with the Pi using a MicroUSB cable or jumper wires from the GPIO port, or you can power it independently of the Pi (if that’s your thing.)
Assembling the screen / mounting the Pi requires only a small Philips screwdriver and takes just a few minutes. Be sure to pay close attention if using the GPIO for power. Doing this incorrectly can permanent damage to the Pi.
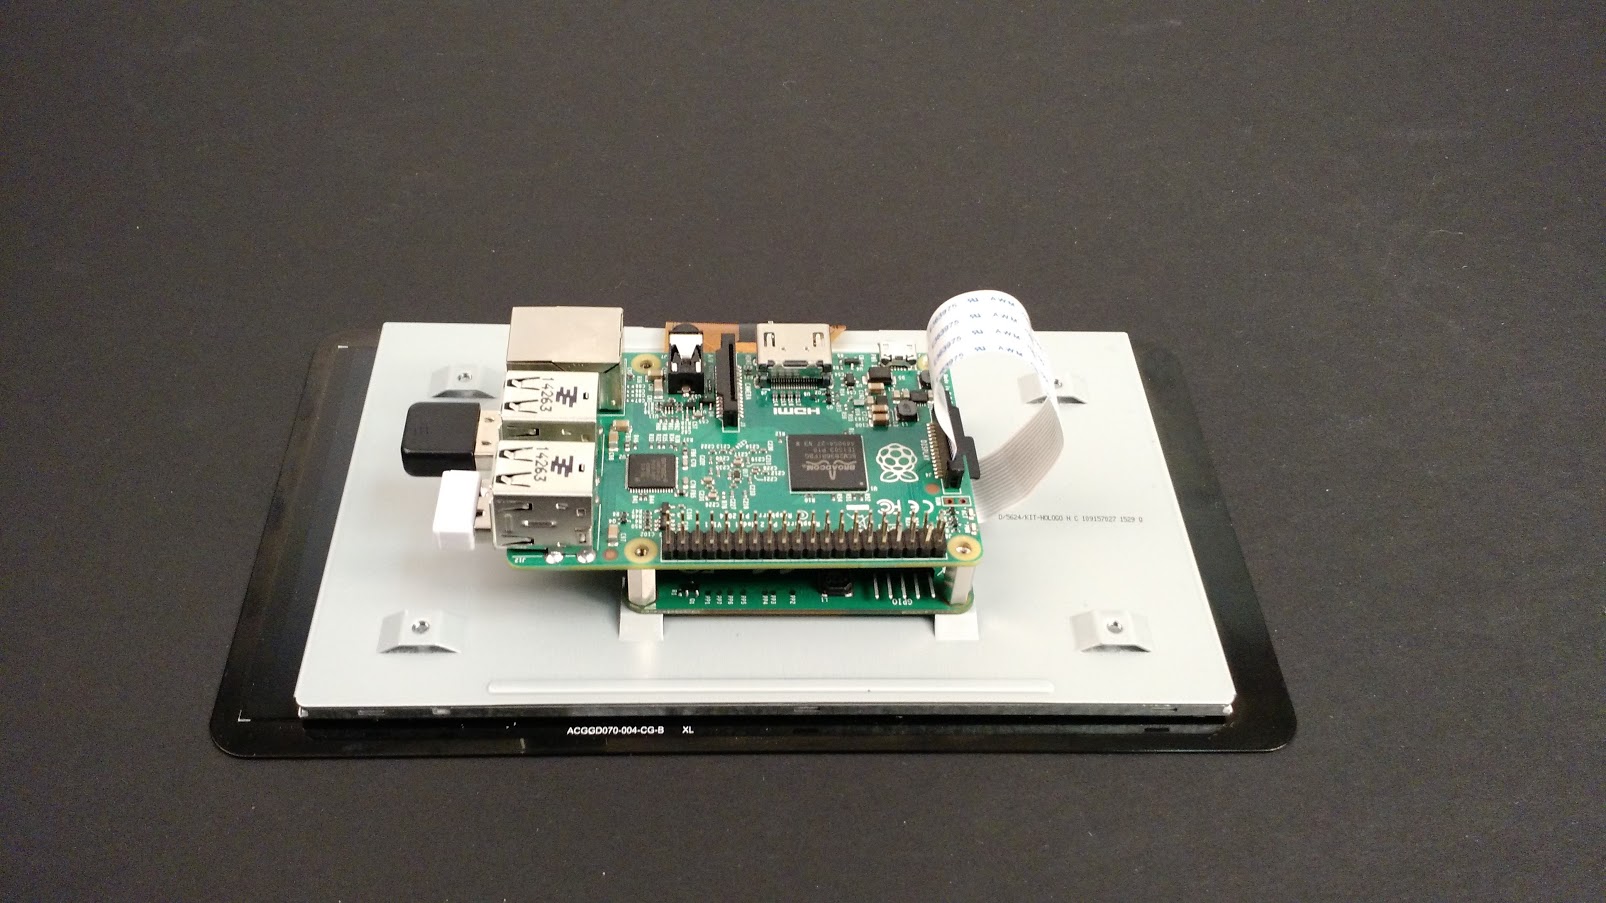
If you assemble the display using the instructions, the resulting solution is, well, clunky – especially if you’re planning to build an enclosure. Because the adapter is uses the same footprint as a HAT, you can flip the Pi over and for a lower profile mounting solution. This method successfully reduces the height by 1/2 provided you 1) don’t mind bending a few of your Pi’s GPIO pins out and 2) don’t mind if the DSI ribbon cable gets a bit scrunched up. To preform this modification, follow the steps below:
Step 1: Bend pins 2 and 6 out on the Raspberry Pi. This will give you room to plug in the jumper wires.
Step 2: Flip the Raspberry Pi face-down and screw it in.
To verify that everything works, we’ll need to flash an SD card with the latest version of Raspbian Wheezy, hook it up to the Internet via Ethernet (or using WiFi but that’s easiest by connecting a USB mouse, booting into Raspbian, and using the GUI tool.)
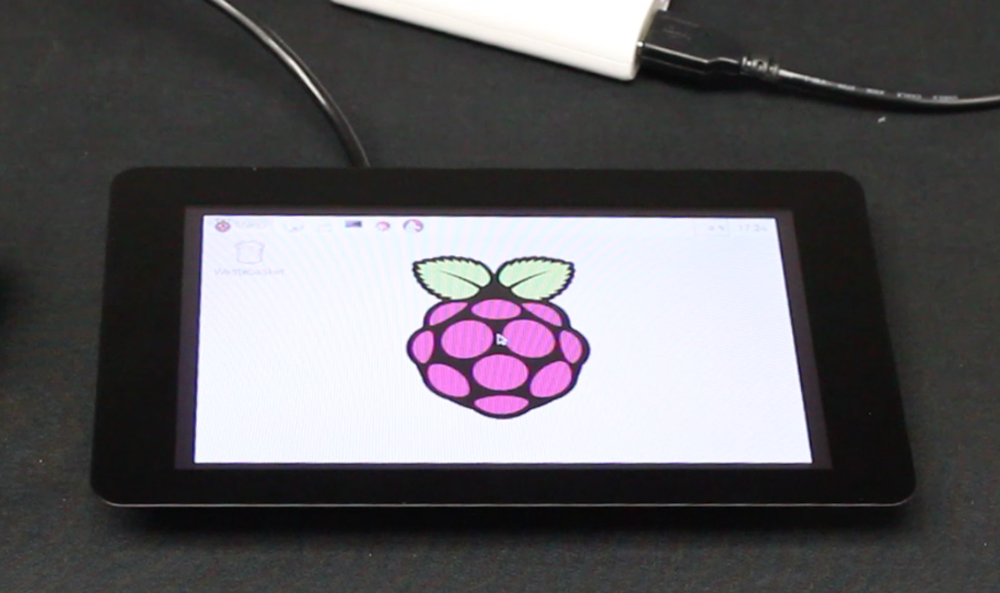
Once connected, power on your Pi, boot it up, log in (user = pi, password = raspberry) and type “sudo apt-get update upgrade” into prompt. Type “y” when asked if you’re sure you want to do the update. If you booted in the desktop, open up the terminal and type the above command. After the upgrade is complete, reboot your Pi, log back in, type “startx” to load the GUI, and your touchscreen should be working! If it isn’t, try rebooting.
To get the display to boot into the operating system without logging in, type “sudo raspi-config” into the prompt, select option 3, and select “Desktop Log in as user ‘pi’ at the graphical desktop. Click finish then reboot. Your Pi and it should load automatically into the desktop environment.
Because requiring a keyboard to be hooked up when you have a perfectly good touchscreen is lame, you’ll want to install an onscreen keyboard. I installed matchbox keyboard on the original PiPad and once again on this version. To install (assuming you’re still connected to the internet), open terminal and type “sudo install matchbox-keyboard”. Type ‘y’ when prompted then reboot your pi. Upon reboot the keyboard will be available under Menu -> Accessories -> Keyboard.
Now that we have everything up and running, let’s talk about the display.
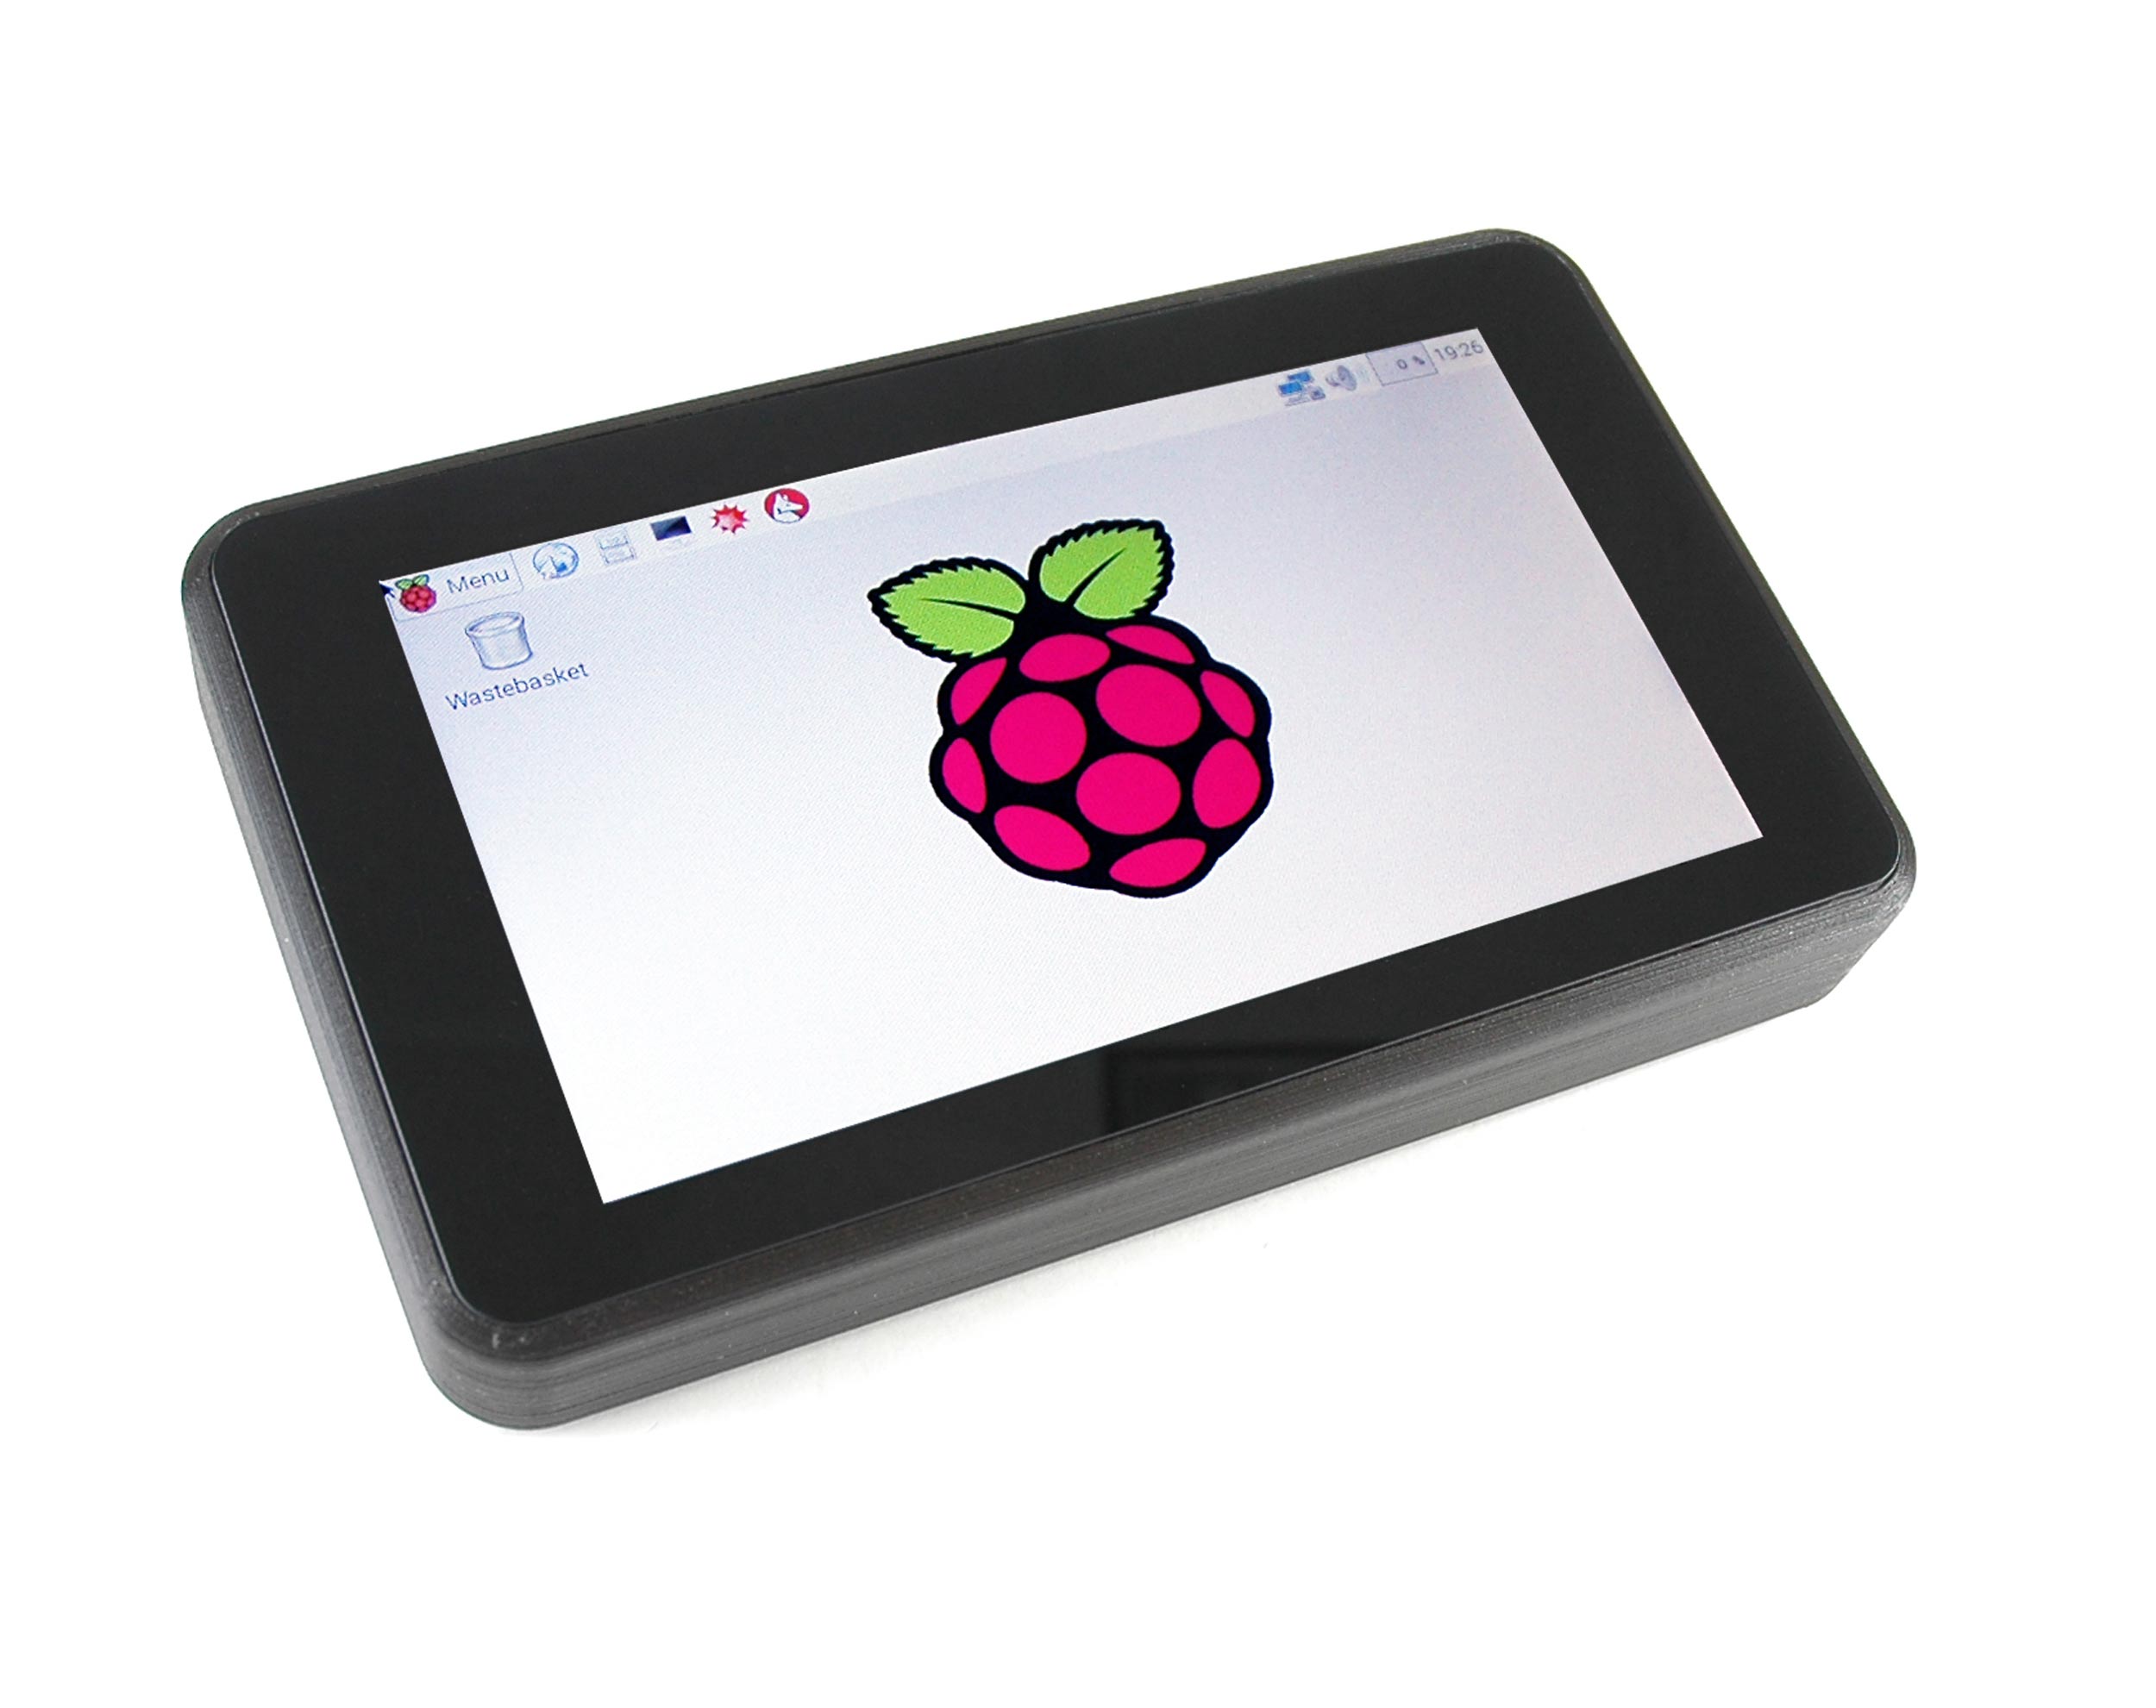
Official Specs:
- RGB 800×480 display @60fps
- 24-bit colour
- FT5406 10 point capacitive touchscreen
- 70 degree viewing angle
- Metal-backed display with mounting holes for the Pi
Likes:
- $60 street price – While nearly twice the price of a Pi, the screen is over 1/2 the price of the competition.
- Capacitive touch works great – Touches are responsive and very accurate. Supposedly the hardware can support 10 finger touch but this isn’t yet supported by software.
- High quality feel – Screen has a good amount of heft and appears very well made.
- Touch inputs routed through DSI connector – This frees up all 4 of the USB ports.
- Dual display possibilities – Since the display uses DSI, the HDMI port should support another monitor (although not another Pi touchscreen.)
- Shares power with the Pi – Power is supplied to the adapter / screen via a MicroUSB port then sent to the Pi with another USB cable, or it can be powered from the Pi’s GPIO ports.
Dislikes:
- Mounting holes – The Pi is mounted off-center on the back of the display. This will make enclosure design difficult and will require extension cables for the Pi’s ports.
- Non-HD – The display outputs 800×480 @ 60Hz. While this is usable for video playback I would have liked to see full HD like some of the other versions on the market.
- No oleophobic coating – The display lacks an oil-resistant coating on the screen so you’ll be able to see every fingerprint when the display is off or black (this isn’t really noticeable while the display is being used.)
- Adapter board – I understand the need for the adapter board but it is somewhat annoying to deal with when trying to design an enclosure. I wish the display only required the DSI cable.
- Onscreen keyboard – Matchbox keyboard does work but is very buggy and slow. I hope the foundation can come up with something better.
- No brightness control – Out of the box there is no way to control screen brightness. I’m hoping this can be added in software.
Overall, at $60 the screen is very well priced. It could have been priced at around from $69-$79 and still have been a good deal. If you have any specific questions leave them in a comment and I’ll do my best to answer them.
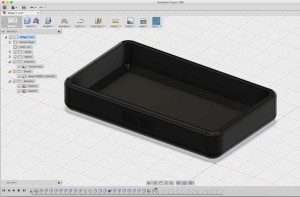
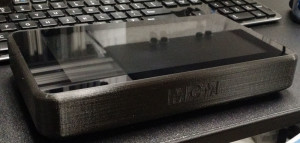
As for designing an enclosure, with the profile lowered we can start designing one. The original PiPad with it’s 10” screen used CNC cut baltic birch plywood. Since most folks don’t have access to a CNC machine (and since the 7” screen is smaller) I decided to design the enclosure to be 3D printable. Currently there are no mechanical drawings of the screen available (despite my repeated asking) so I simply laid the screen on a flatbed scanner and imported the image into AutoDesk Fusion 360 for tracing and built up from there. Once the design looked good I printed it out on my Ultimaker 2. Initial designs were a little tight but the current one should be just right.

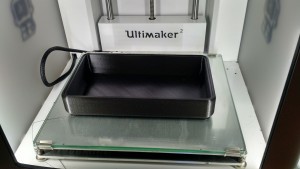
I must emphasize that this enclosure is far from a perfect solution, mainly because I haven’t yet settled on a battery. In the current version, we found a battery that happens to fit but not one that the case was designed around. Once I settle on a battery I’ll create something less tray-like with external ports and such. For now, this one is a proof of concept. From the testing I’ve done so far, the Pi 2 + Touchscreen + WiFi adapter consumes about 1000ma/hr. I’d like to get 6 to 8 hrs of battery life so we’re looking for a battery with the following features:
- 6000 – 8000mah
- 2A output
- Provides output power while charging (this is one annoyance of the battery used in the original PiPad.)
- Easily accessible power button and charge level indicator.

After finding an appropriate right-angle usb cable, the entire assembly was fitted into the case. The result is a self-contained and fully functional Raspberry Pi based tablet that serves for the foundation of the “PiPad 2.0.” If you’d like to print the files yourself, the STL and Fusion 360 files are available on MCM Electronic’s GitHub account or via Autodesk Fusion 360. Feel free to give it a try and stay tuned for the next version!

In order to get a good touch keyboard, use Ubuntu Mate. It has Onboard, a good keyboard
Wow! I Built my own tablet, but this is AWESOME! Great idea to flip the pi over! 🙂
Hi, pls let me know where you found this box for screen. Thanks
Hello, I 3D printed it. The files can be downloaded at GitHub.